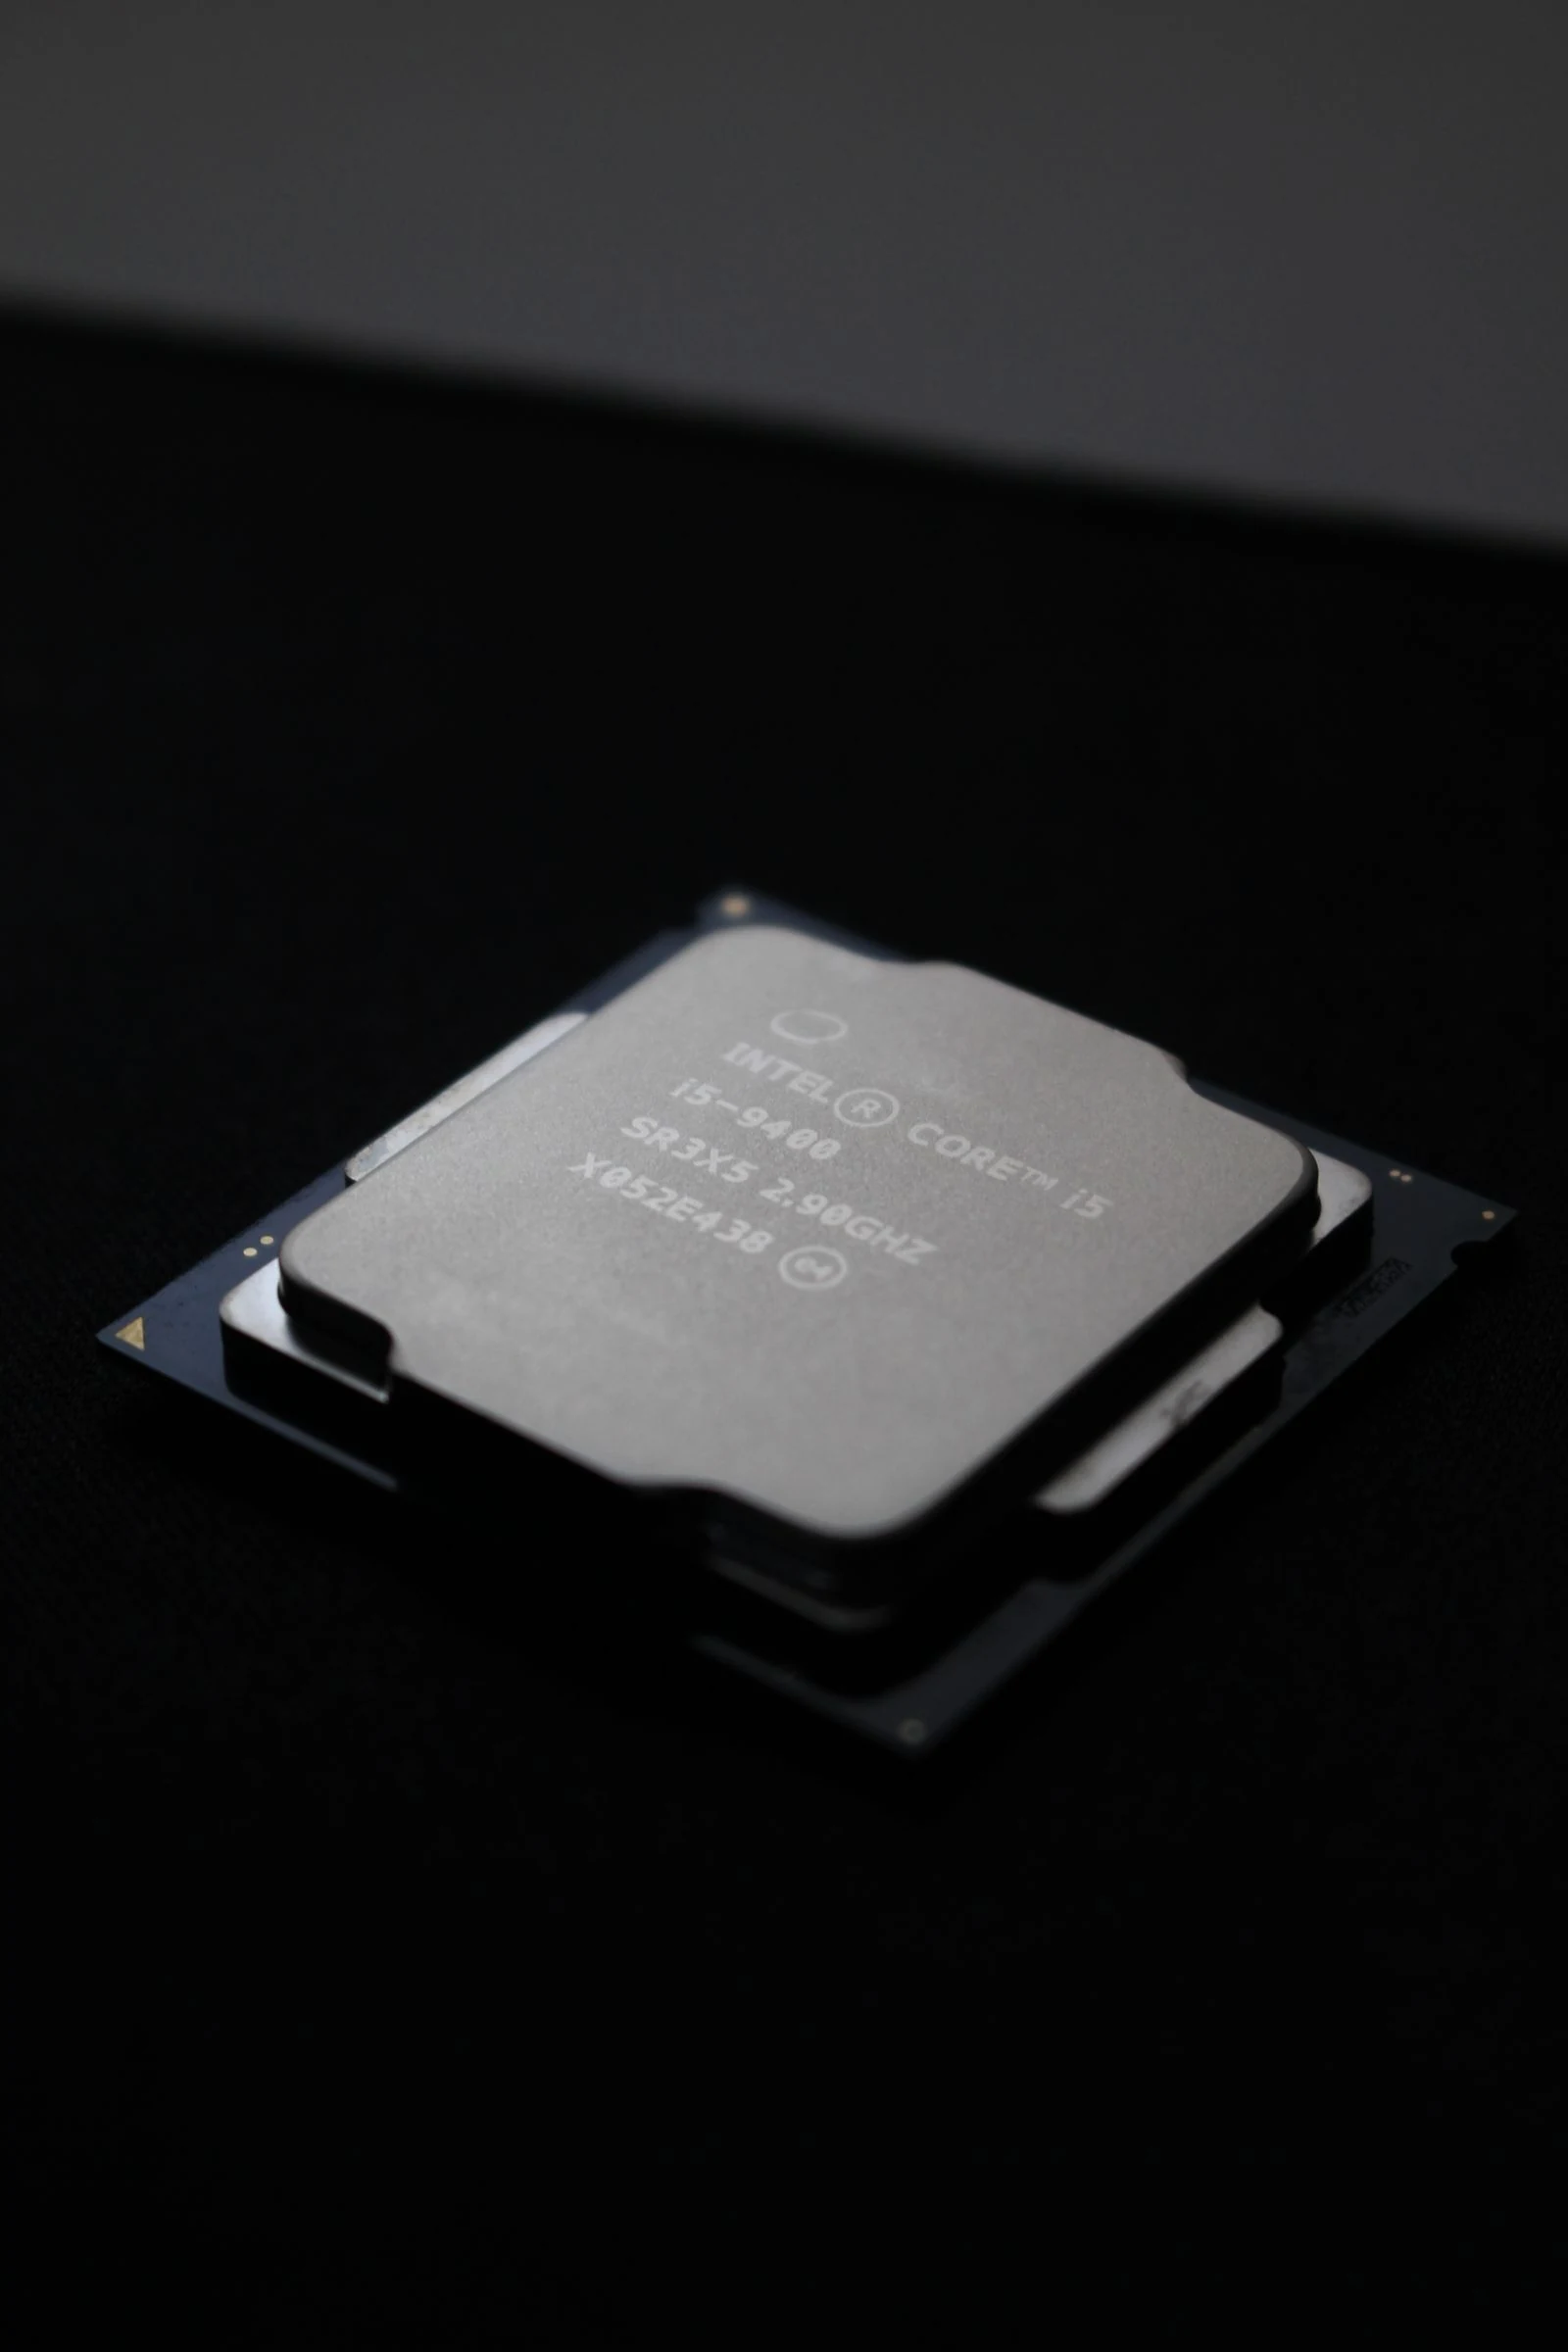
Intel CPUs can run hotter than many users expect, especially under heavy gaming, streaming, or productivity loads. Undervolting is one of the safest and most effective ways to reduce heat and power draw while keeping performance strong. This guide explains how it works, how to do it with Intel XTU or BIOS, and how to test stability properly.
What Is Intel CPU Undervolting?
Undervolting means reducing the voltage your Intel CPU uses while keeping stock clock behavior intact. Because lower voltage produces less heat and reduces power draw, the CPU is less likely to slam into thermal limits. In many cases, that means better sustained boost behavior, quieter cooling, and more consistent performance rather than less.
This is why undervolting is often one of the best “free” optimisations for Intel systems. It can help high-end chips stay under control, but it also works on lower-end CPUs and thermally limited builds where every degree matters.
How To Reduce Temps On Intel 12th, 13th, and 14th Gen CPUs
Is Undervolting Safe?
In normal use, undervolting is widely considered one of the safest CPU tuning methods because you are reducing voltage rather than pushing extra voltage into the chip. If you go too far, the usual result is instability, a benchmark error, or a reboot. That does not mean hardware damage. You simply return to the last stable setting and continue testing.
It is also fully reversible. Whether you use Intel XTU or BIOS offset mode, you can always remove the undervolt and go back to default behavior. The only real mistake is moving too fast and skipping stability testing.
Why Undervolting Can Improve Performance
High CPU temperatures often trigger thermal throttling or aggressive clock reduction under load. By lowering voltage, you reduce heat output and package power, which can help the CPU hold higher clocks for longer. That is why a good undervolt can maintain performance and sometimes even improve benchmark scores or in-game consistency.
In one example workflow, a modest -50mV undervolt dropped power use by around 10 watts and reduced temperatures by roughly 3 to 4 degrees Celsius. A more refined undervolt pushed voltage down further, lowered total package power, and cut temperatures dramatically without hurting daily usability.
Before You Start
You will need three tools for a clean undervolting workflow: Intel Extreme Tuning Utility (XTU) for applying voltage offsets, Cinebench R23 for repeatable CPU benchmarking, and HWInfo64 for monitoring sensor data like package power, temperature, and voltage.
- Intel Extreme Tuning Utility (XTU)
- Cinebench R23
- HWInfo64 in Sensors Only mode
Before doing anything else, check whether your platform actually allows undervolting. Some BIOS versions and some motherboard defaults can block it. If your system currently supports undervolting, avoid unnecessary BIOS updates unless you specifically need one, because newer firmware can remove or restrict undervolt controls on certain Intel platforms.
How to Access BIOS or UEFI on Any PC
If Intel XTU Will Not Install
XTU installation issues are often caused by Windows security settings or motherboard protections. A common blocker is Core Isolation or Memory Integrity in Windows. Another is Undervolt Protection being enabled in BIOS. If XTU refuses to install or open properly, check both before assuming your CPU is unsupported.
- In Windows Security, check whether Core Isolation or Memory Integrity is enabled
- In BIOS, look for Undervolt Protection and disable it if your board exposes the option
- Reboot after making changes, then try XTU again
- Keep notes of anything you changed so you can reverse it later if needed
Establish Your Baseline First
Do not start adjusting voltage blindly. First, open HWInfo64 in Sensors Only mode and watch the key values that matter: CPU Package Power, CPU Package Temperature, and Core VIDs. Then run a Cinebench R23 multi-core test with the CPU still at stock settings.
- Record your Cinebench multi-core score
- Record maximum package temperature
- Record maximum package power
- Note the highest voltage or Core VID you see during the run
These baseline numbers tell you whether the undervolt is actually helping. Without them, you cannot tell whether you improved thermals, lost performance, or found a better efficiency point.
How to Undervolt an Intel CPU with Intel XTU
Intel XTU is the easiest place to start because it lets you apply changes from Windows without repeatedly entering BIOS. The main setting you want is Core Voltage Offset. This applies a negative voltage reduction across the CPU’s operating curve.
- Open Intel XTU and locate Core Voltage Offset.
- Move the setting into the negative range.
- Start with a conservative value such as -0.050V.
- Click Apply.
- Run Cinebench R23 again and watch HWInfo64.
- If the system is stable, reduce voltage further in small steps such as 10mV or 25mV.
- Repeat testing after every change.
A typical progression might look like -0.050V, then -0.060V, then -0.070V, depending on how your CPU behaves. Every chip is different, so do not copy another person’s numbers and expect the same result. This is the silicon lottery in action.
How to Find the Sweet Spot
The goal is not the lowest number you can force once. The goal is the lowest number that stays stable under real use. Keep lowering the voltage until one of three things happens: the benchmark score drops sharply, the system crashes, or applications start behaving unpredictably.
Once you hit instability, reboot and add 10mV to 20mV back to the last stable setting. That usually gives you a safer long-term undervolt for gaming, daily browsing, and background task changes.
How to Undervolt in BIOS for a Permanent Setup
Once you know your stable range, you can apply a similar undervolt directly in BIOS. This avoids loading software in Windows and makes the tuning persistent across reboots.
- Restart the PC and enter BIOS or UEFI.
- Go to CPU Tweaker, OC, Advanced Voltage, or a similarly named section depending on motherboard brand.
- Find CPU V-Core Voltage Mode and set it to Offset or Adaptive.
- Set the Internal CPU Vcore Offset to a negative value such as -0.050.
- Save and exit BIOS.
- Boot into Windows and re-run your tests.
Adaptive or Offset mode is usually preferred because it allows voltage to scale naturally while applying your chosen reduction. That keeps normal boosting behavior intact instead of forcing a fixed voltage all the time.
How to Access BIOS or UEFI on Any PC
How to Stress Test an Undervolt Properly
Passing one benchmark run is not enough. A CPU undervolt must be stable under heavy load, mixed load, and light load. This is where many people get caught out. A system can survive Cinebench and still crash later on the desktop because low-load voltage behavior exposes instability that a full load test never showed.
High-Load Testing
After each voltage step, run Cinebench R23 and compare your score, temperatures, and power. When you think you have found a good value, use Cinebench’s advanced test mode and run it for around 30 minutes. That helps catch weak settings that only fail once the system heat-soaks.
- Run a normal Cinebench pass after every adjustment
- Use the 30-minute loop when you think you have found a stable result
- Watch for benchmark score drops, application errors, or sudden reboots
- Keep HWInfo64 open to track temperature, package power, and voltage behavior
Gaming Stability Matters Too
Synthetic tests are useful, but some modern games react to unstable CPU voltage much faster. Titles such as Warzone 2.0 and Apex Legends are especially sensitive, which makes them useful for real-world validation after your benchmark passes.
Common FPS Fixes for PC Games - OCCT, DDU, shadercache
Best Warzone Settings for FPS, input lag & Renderer Count Optimisation
Do Not Skip Idle Stability
One of the most overlooked parts of undervolting is idle testing. Voltage behavior changes as CPU load drops, and some unstable undervolts only fail during light desktop use, video playback, or web browsing. After your heavy tests pass, spend time doing normal low-load tasks. If the PC crashes there, add around 10mV back and test again.
Best Practices for Stable Results
- Make only one voltage change at a time
- Keep a notepad or phone photo of your stable values
- Do not chase the biggest undervolt just for bragging rights
- Prioritise stability over one extra degree or one extra watt
- Re-test after major Windows, chipset, or BIOS changes
- Expect different results from different CPUs, even with the same model
Common Mistakes to Avoid
The biggest mistake is assuming that “no crash yet” means “fully stable.” Another is updating BIOS without checking whether your current version already supports undervolting. On some Intel boards, users have lost undervolt functionality after flashing newer firmware.
- Starting with an overly aggressive negative offset
- Testing only with a short benchmark
- Ignoring idle crashes and browser instability
- Forgetting to record stock numbers before tuning
- Updating BIOS carelessly and losing undervolt support
FAQ
Not usually. A good undervolt often maintains performance and can improve sustained boost behavior by reducing heat and power draw.
In most cases the system reboots, the unstable setting fails, and you return to a safer value. Undervolting is reversible and does not normally damage the CPU.
The most common reasons are Windows Core Isolation or Memory Integrity settings, unsupported platform restrictions, or BIOS-level Undervolt Protection being enabled.
XTU is better for testing because it is faster and easier to change. BIOS is better once you already know your stable value and want a permanent setup.
Some motherboard BIOS updates change microcode behavior or enable protections that block voltage offsets. If your current BIOS allows undervolting and your system is stable, do not update firmware without a clear reason.
- CONTROL Resonant7 min read
CONTROL Resonant Intel Arc Performance: Driver 32.0.101.9033 Benchmark & Best Settings
- Beast of Reincarnation6 min read
Beast of Reincarnation FPS Boost: Best Settings to Fix Lag and Stutter
- Marvel Rivals FPS fix7 min read
Marvel Rivals FPS Boost Guide: Fix Stutters and Input Lag on PC