Published: 10/11/2025
🕒 3 min read
How to Access BIOS or UEFI on Any PC
Need to enable XMP, check boot priority, or tweak hardware settings? Here’s how to open your motherboard’s BIOS or UEFI firmware - whether your PC is running or completely powered off.
Method 1: Restart and Press the Key
The traditional way - used on every desktop and laptop - is to press the correct function key right after powering on your PC. Timing matters: you need to hit it before Windows starts loading.
- Completely restart or power off your PC.
- Turn it back on and immediately press one of these keys repeatedly.
| Brand | BIOS Key |
|---|---|
| ASUS | Del or F2 |
| MSI | Del or F2 |
| Gigabyte | Del or F12 |
| Acer | F2 or Del |
| HP | Esc or F10 |
| Dell | F2 |
| Lenovo | F1 or F2 |
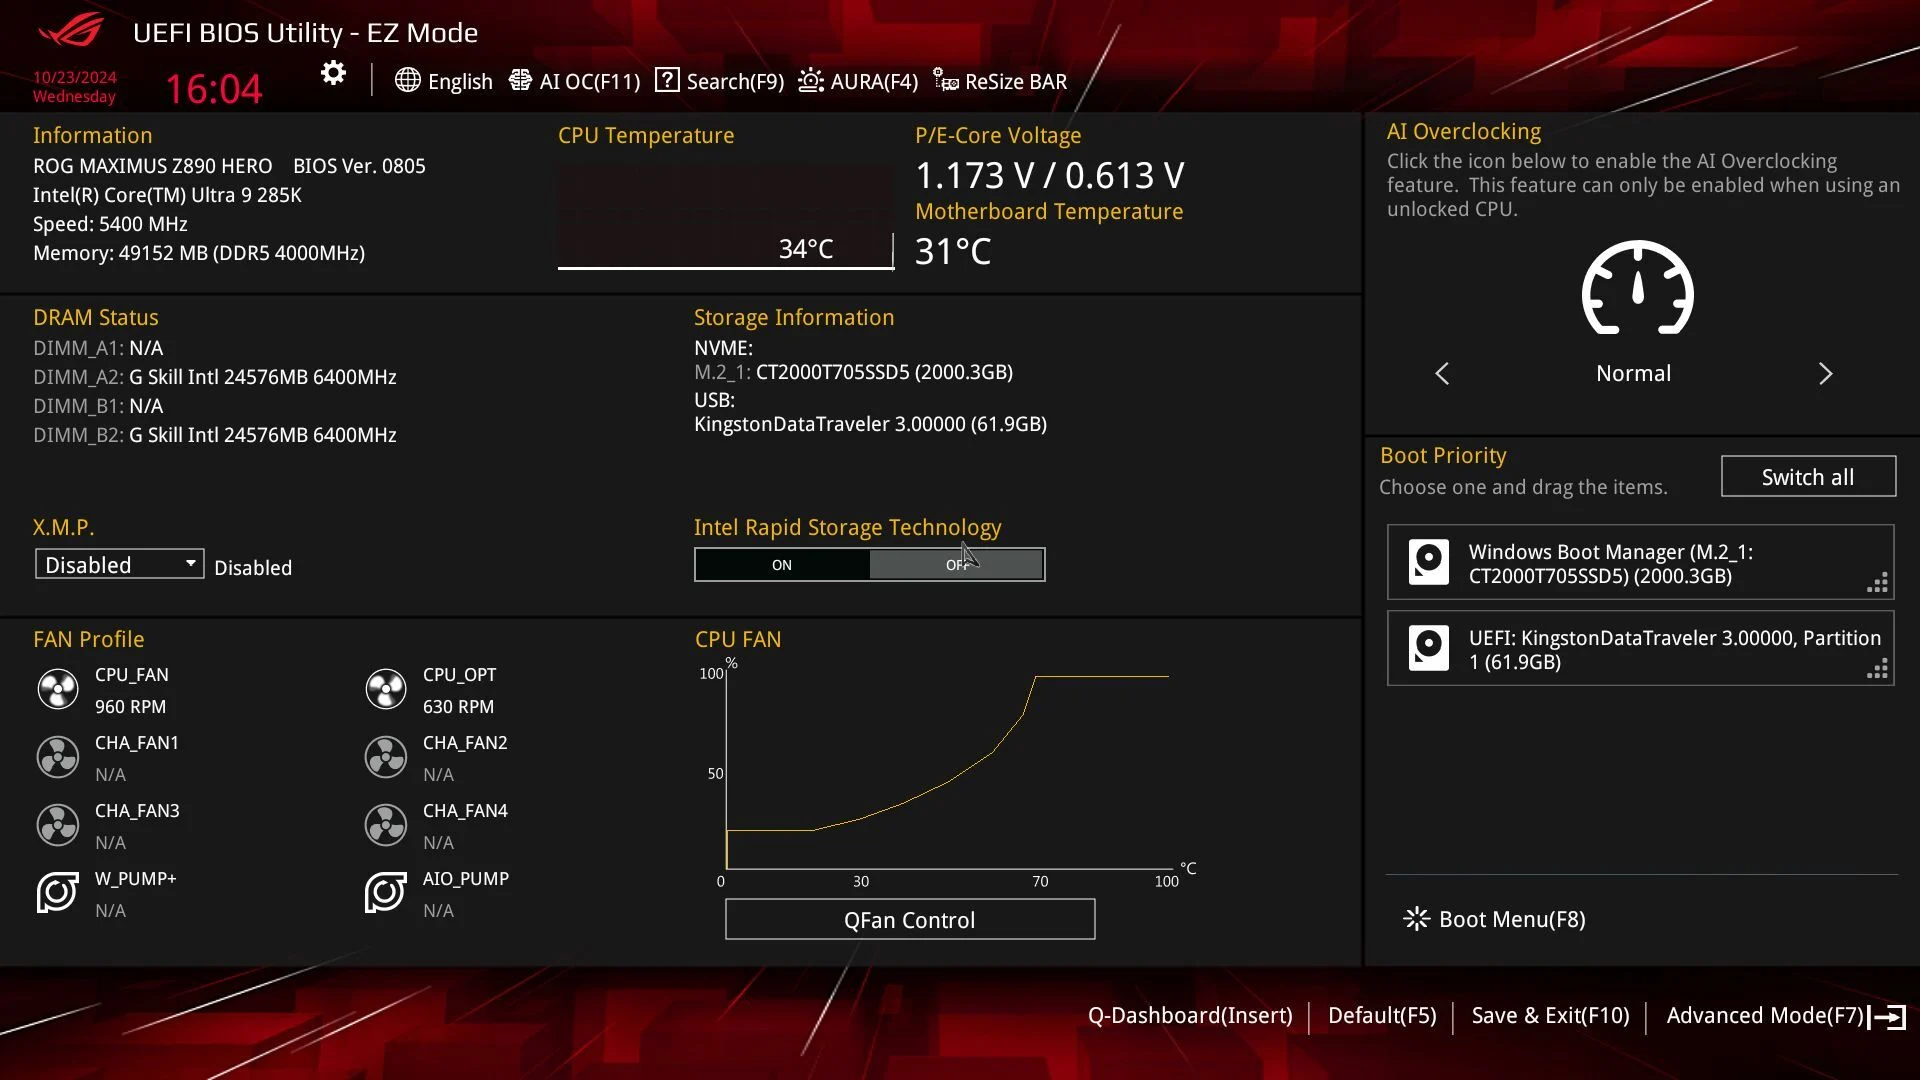
You’ll know you succeeded when you see your BIOS or UEFI screen with your motherboard manufacturer logo. e.g. ASUS
Method 2: Use Advanced Startup (Windows)
If your keyboard or boot timing makes it tricky to press the key in time, you can open BIOS directly from within Windows:
- Press Windows + I → open Settings.
- Navigate to System → Recovery (Windows 11) or Update & Security → Recovery (Windows 10).
- Under Advanced startup, click Restart now.
- On the blue screen: Troubleshoot → Advanced options → UEFI Firmware Settings → Restart.
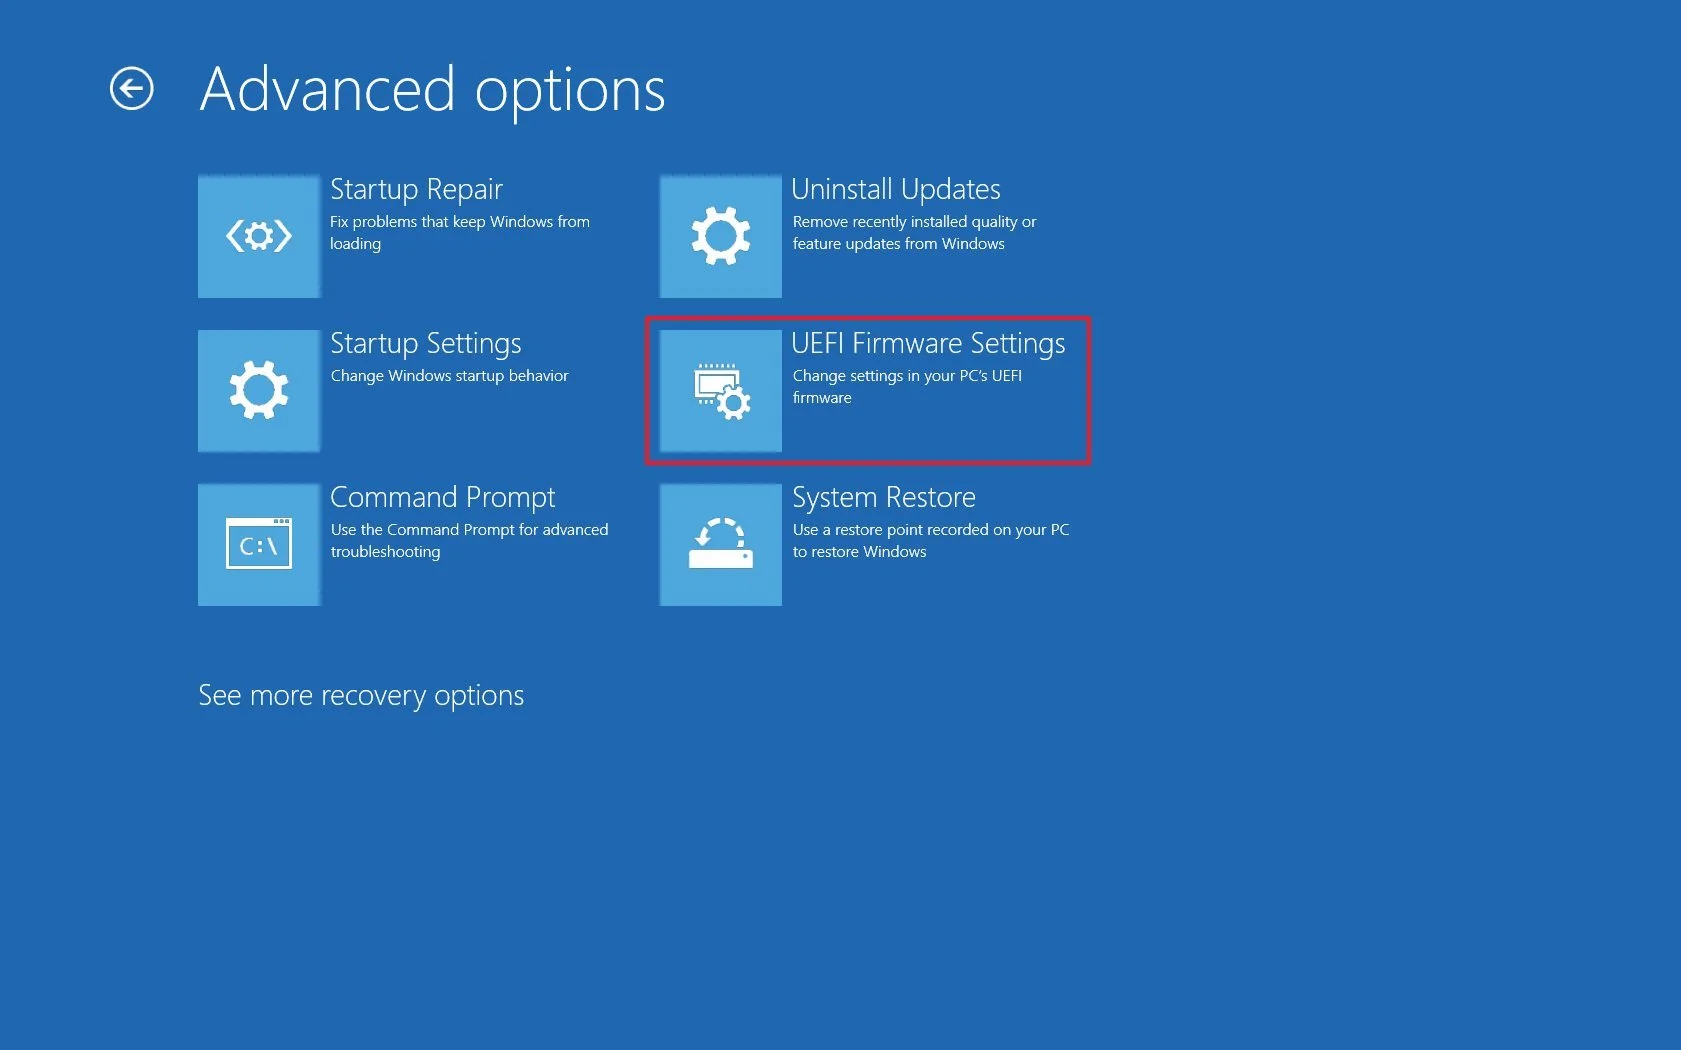
This method guarantees entry to BIOS without the frantic key-mashing - ideal for laptops or modern motherboards that boot too quickly.
Bonus Tip: Forcing Legacy BIOS Mode
Some older systems may not show “UEFI Firmware Settings.” In that case, disable Fast Startup in Windows Power Options and retry the key method.
Final Thoughts
Whether you’re enabling XMP for faster RAM, checking fan curves, or adjusting boot order, knowing how to reach BIOS is the first step to PC optimization. Once you’re inside, explore but note down any changes - especially voltage or frequency tweaks - before saving.