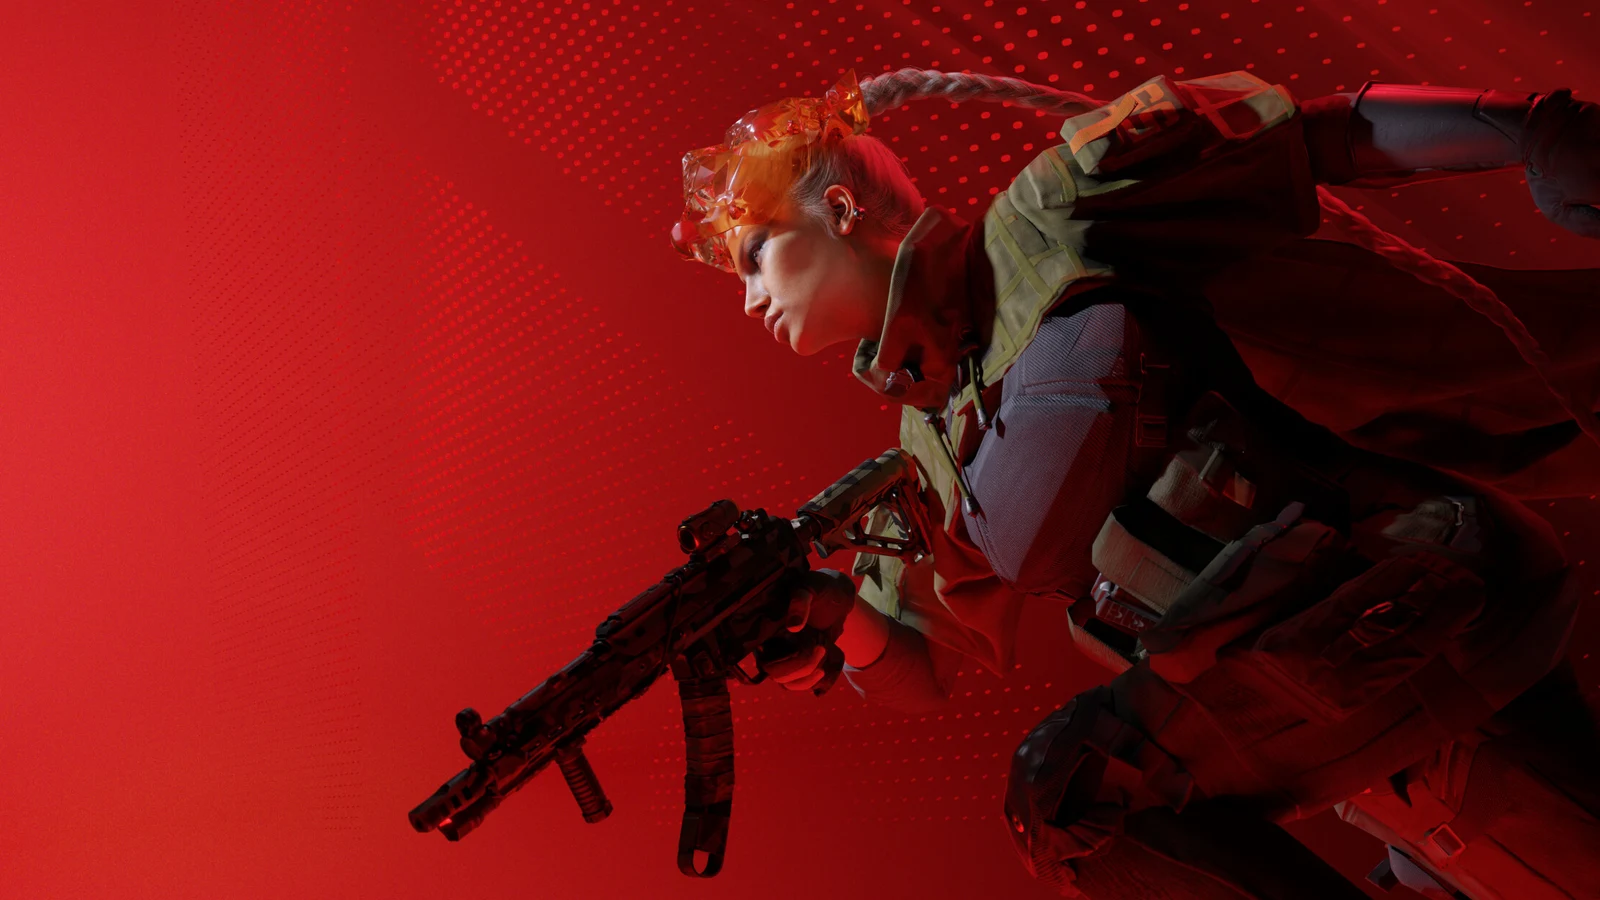
If The Finals feels smooth until a building falls, judge your settings during that moment. Start with frame generation off, compare one graphics change at a time, and keep only changes that help frame delivery without making opponents harder to follow. This is a comparison method for your PC; no HD OPTI benchmark results are claimed.
Why Season 12 deserves a fresh comparison
Season 12 changed destruction, lighting and post-processing, with gradual building collapse, Blast Waves, growing debris piles and reworked smoke and toxic gas. These changes make an intact arena an incomplete test case. They do not establish how much faster or slower the game runs on your hardware.
As of 8 November 2026, this guide accounts for the Season 12 launch notes and updates 12.1 and 12.2. Update 12.1 also adjusted lighting and fog in several arenas. Record your installed build and arena conditions before comparing an older settings profile with a new one.
Start with a clear, reversible baseline
Save screenshots of your current Video and Interface settings. Keep output resolution, field of view, mouse sensitivity, display refresh rate and capture software unchanged while isolating graphics changes. Treat the suggestions below as starting experiments, rather than a measured best preset.
| Setting or feature | Starting experiment | What decides whether to keep it |
|---|---|---|
| Frame generation | Off for the baseline | Compare rendered performance before adding generated frames |
| Upscaling | Compare native rendering with an available Quality mode | Check both frame times and moving targets at your output resolution |
| Ray-traced lighting | Compare your current option with the lowest available setting | Check interiors and newly opened walls as well as performance |
| Effects and shadows | Lower one available quality option by one step | Keep the change only if repeat captures improve and combat remains readable |
| Motion blur | Disable it if available and distracting | Judge target tracking while turning; do not assume an FPS gain |
| HUD glow | Try Off under Interface | Keep the appearance that helps you read fights |
| HUD and world icons | Adjust their scales separately | Keep objectives legible without covering your aiming area |
| NVIDIA Reflex | Start with On on a supported GeForce setup | Evaluate responsiveness separately from the FPS counter |
Ray-traced global illumination updates lighting as the environment breaks apart. That makes a wall opening or a newly exposed room a useful visual comparison point. The lowest lighting setting is a test candidate, not proof that lighting caused your particular stutter.
HUD glow can be disabled using the Interface setting added in update 12.1. Independent world-icon scaling arrived with Season 12. Use these controls for readability; neither is established here as a performance improvement.
Keep upscaling and frame generation separate
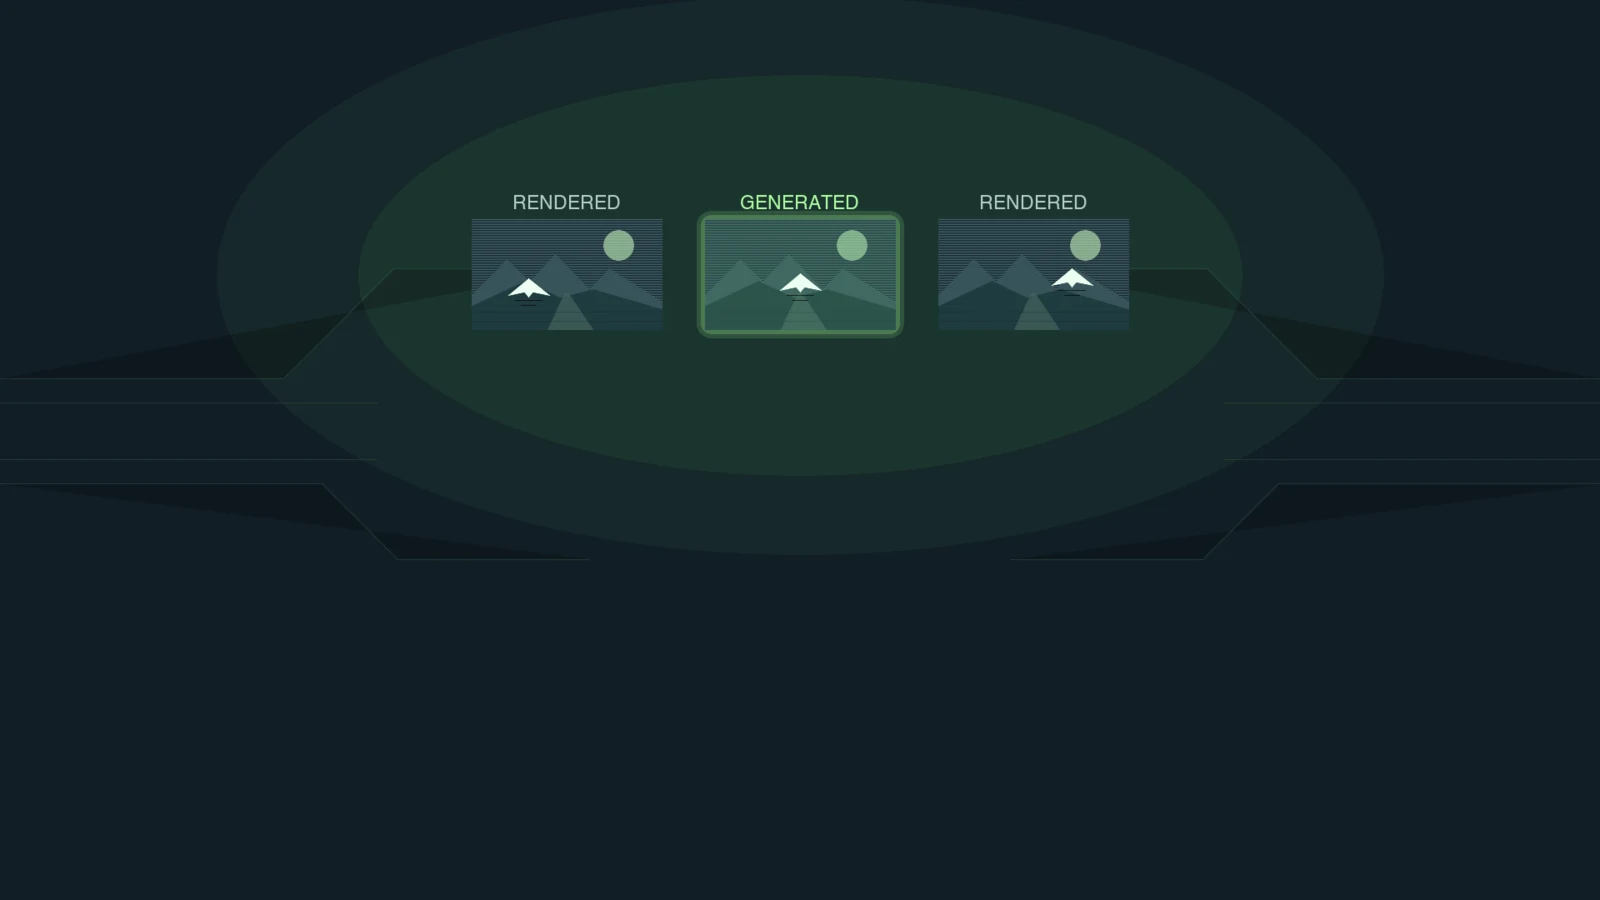
DLSS Super Resolution reconstructs a higher-resolution image from a lower-resolution input. Frame generation adds generated images to the output. A higher displayed FPS with frame generation enabled is therefore not evidence of an equivalent increase in rendered frames or a matching reduction in input delay.
Begin with frame generation off and choose the upscaling option that survives a moving-image check. Track an opponent across railings, exposed building edges and smoke boundaries. If a lighter mode improves frame times but makes that task harder, compare the next higher quality mode before cutting more settings.
Use three scenes instead of one average
The following is a suggested local test protocol. It has not been run by HD OPTI. Use a repeatable route and destruction sequence wherever you can arrange one; live matches are useful validation, but different fights are not identical benchmark runs.
- Record the build, driver, CPU, GPU, RAM, output resolution, upscaler, frame-generation state, Reflex state, frame cap and synchronisation settings.
- Choose an intact route, a section with active structural destruction, and a section moving through the aftermath with debris and smoke. Keep each scene separate in your notes.
- Warm up the route, then aim for three 60-second captures per scene with your baseline settings. Use a frame-capture tool such as PresentMon and retain the raw data.
- Change one option and repeat the same capture schedule. Match the arena, conditions, route, viewpoint, loadout and destruction trigger as closely as possible.
- Restore the baseline and repeat it. If the restored baseline changes as much as the proposed improvement, collect more runs before accepting the change.
- Check the chosen settings in ordinary matches. Record whether visibility or response becomes worse during the fights you actually play.
If your test setup cannot reset the environment, group captures by scene type and describe the comparison as approximate. Do not turn a quiet run versus a chaotic match into an improvement percentage. Keep capture duration and your tool's definition of 1% lows consistent across profiles.
Read the measurements without confusing them
| Measurement | What it helps answer | What it cannot establish alone |
|---|---|---|
| Average FPS | Is overall frame throughput changing? | Whether a collapse contains a disruptive hitch |
| 1% lows and frame-time trace | Are slower frames and spikes improving across repeats? | The cause of each spike |
| GPU Busy | How long is the GPU working on a frame? | A complete CPU or system diagnosis |
| Displayed FPS with generation | How quickly are output images changing? | Rendered FPS or input-to-display delay |
| PC or render latency | What delay does that specific metric cover? | Full click-to-photon latency |
| Click-to-photon measurement | How long from a click to a visible response? | A universal result for every arena and input device |
PresentMon distinguishes presented frames, displayed frames and several latency metrics. Preserve the exact labels in your results. If latency data is unavailable, write “not measured”; a frame-time trace is not a substitute for an input-to-display test. Use the same measurement method and supported equipment for every latency comparison.
Inspect the frame-time trace around the destruction event, even when average FPS improves. A recurring spike deserves its own investigation.
High FPS but Game Still Stutters? How to Fix Frame Time Spikes
Make a separate responsiveness comparison
On supported GeForce systems, Reflex On is a sensible starting point because it coordinates CPU submission with GPU work to reduce queueing. Keep it unchanged during graphics comparisons. Test any alternative Reflex mode separately; do not choose it solely because it produces the highest average FPS.
For a latency-focused comparison, V-Sync off is an option if you accept tearing. If you use a variable-refresh setup to avoid tearing, keep its synchronisation settings consistent throughout your tests. Treat a new frame cap as a separate experiment too: compare the trace and response before deciding it helps.
Decide what to change next
| Your repeated observation | Next useful check | Decision rule |
|---|---|---|
| Lighter rendering settings improve all three scenes | Restore options individually | Spend recovered performance on the visual details you value |
| Average FPS improves but collapse spikes remain | Inspect those events separately | Do not declare the stutter fixed |
| Lower internal resolution makes little difference | Check caps and CPU/system behaviour | Do not diagnose the CPU from this observation alone |
| FPS is acceptable but targets are hard to follow | Compare upscaling quality and HUD settings | Prioritise visibility during movement |
| Generated FPS rises but response feels worse | Return to the generation-off baseline | Keep separate records for smoothness and response |
If reducing rendering work stops helping, widen the investigation before replacing hardware. A graphics-settings comparison can identify a useful next check without proving the underlying bottleneck.
How to Identify a CPU Bottleneck in Modern Gaming
FAQ
Establish a generation-off baseline first. Generated images can increase displayed FPS, but that counter alone does not prove better input response. Compare visibility and latency separately before deciding whether to enable it.
Yes. Update 12.1 added a setting under Interface to disable HUD glow. Try it for readability; there is no measured FPS gain claimed for it here.
Season 12 changed building collapse, debris and smoke. Separate captures let you see whether your chosen settings hold up during those events instead of hiding them inside a whole-match average.
No. It describes slower-frame behaviour under your tool's calculation. Input-to-display latency requires a separate measurement, and PC latency or render latency must retain their own labels.