Published: 10/7/2025
🕒 5 min read
Overclock Your NVIDIA GPU (Safe, Step-by-Step)
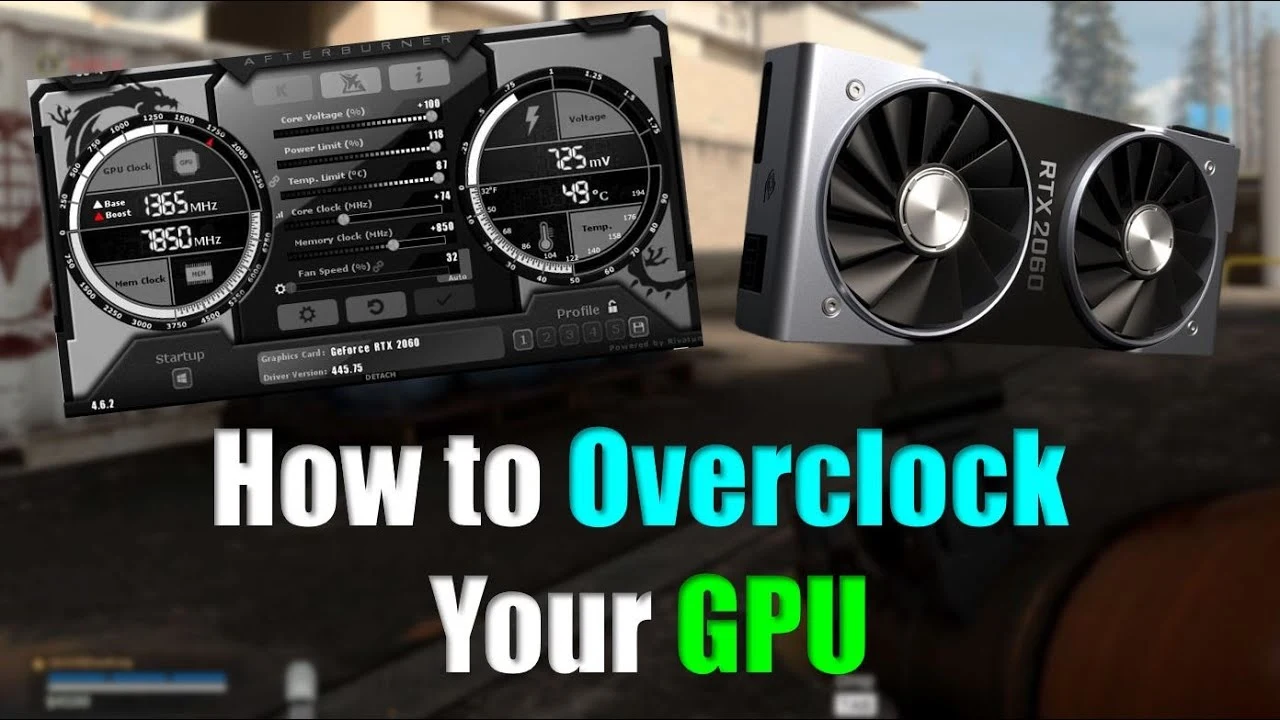
This guide walks you through a stable, repeatable NVIDIA GPU overclock using MSI Afterburner and the Voltage/Frequency curve editor. You’ll start with a safe baseline, raise power and clocks methodically, verify with stress tests, then lock in a cool and quiet fan curve. Expect modest FPS gains and smoother frame times when combined with good game settings.
Safety First
- Overclocking voids nothing by itself, but crashes can corrupt drivers or games - save work before testing.
- Watch core temperature and hotspot. Keep temps < 85 °C (lower is better) and ensure the case has good airflow.
- Increase values gradually. Test stability after each change before pushing further.
- You can fully revert - this guide shows how to restore defaults.
Tools You’ll Need
- MSI Afterburner
- Core/mem OC + fan curve
- RivaTuner (RTSS)
- On-screen stats (frametime, temps)
- Bench / Stress
- 3DMark / Unigine / OCCT
- Long-Run Check
- Your game(s) - 20–30 min match/session
Step-by-Step Overclock
- Install & Open MSI Afterburner. Enable “Start with Windows” (optional) and “Apply overclocking at system startup” later after you’ve validated stability.
- Set Limits First. Increase Power Limit to the max available. Link Temp Limit at 83–88 °C. Click Apply.
- Baseline Fan Curve. Click the fan icon to open the curve editor. Aim for ~40–50% @ 50 °C, ~60–70% @ 70 °C, ~80–90% @ 80 °C. Save.
- Core Clock Increments (+15 MHz). Start at 0, add
+15 MHzon Core and click Apply. Run a quick 3–5 minute stress test after each step. When you encounter instability (artifacts, driver reset, crash), step back by two increments (−30 MHz) from the last attempted value to set a stable core clock. - Memory Clock Increments (+50 MHz). Start at 0, add
+50 MHzper step on Memory (effective), testing after each bump. When you see errors/artifacts, back off by 50–100 MHz to the last stable setting. - Refine the Core with the Curve Editor. Press Ctrl+F in Afterburner to open the Voltage/Frequency curve. Identify a sweet-spot frequency (e.g., 1900–2100 MHz for many cards) at a reasonable voltage (e.g., 0.95–1.00 V). Drag the target node up to your desired MHz, then flatten to the right so higher voltages don’t boost further. Apply and re-test.
- Longer Stability Test. Run a 10–15 minute stress test (loop), then play one or two demanding matches in your main game. Watch frametime consistency in RTSS.
- Tune the Fan Curve for Noise vs Thermals. If temps are great, you can shave a bit of fan speed. If near 85 °C, bump the mid-high temp fan points 5–10%.
- Save a Profile. Click a profile number in Afterburner and hit the save icon. Create: Silent (milder clocks, gentler fan), Balanced (daily driver), and Max (bench).
Optional: Undervolt for Cooler, Quieter FPS
Many NVIDIA cards run the same clocks at lower voltage, reducing temps and noise with minimal FPS loss. In the curve editor, pick a target voltage (e.g., 0.950 V), raise that node to your stable frequency, and flatten to the right. Test just like an overclock - if it’s stable and cool, keep it.
Stability Symptoms & What To Do
- Green / purple artifacts
- Reduce memory clock in 50–100 MHz steps
- Driver reset / black screen
- Reduce core clock 25–50 MHz; check temps
- Stutter under sustained load
- Raise fan curve; consider small undervolt
- Thermal throttling
- Improve case airflow; repaste/pads (advanced)
Game-Side Tips for Smooth Frame Times
- Use a frame rate cap just below your average FPS (e.g., 2–3 FPS under) to reduce frametime spikes.
- Prefer in-driver upscalers or in-game DLSS/FSR with sharpening tuned to taste.
- Clear and recompile shaders when patching big updates to avoid hitching.
How to Revert / Start Over
- In Afterburner, click Reset to restore stock clocks and fan behavior.
- Uncheck “Apply overclocking at system startup” until you’ve re-validated stability.
- If issues persist, clean-install the NVIDIA driver (factory reset) via GeForce Experience or the standalone installer.
Advanced (Optional)
- Airflow / fans
- positive pressure helps GPU cooling
- Dust Removal
- Blow out filters/heatsinks every 2–3 months