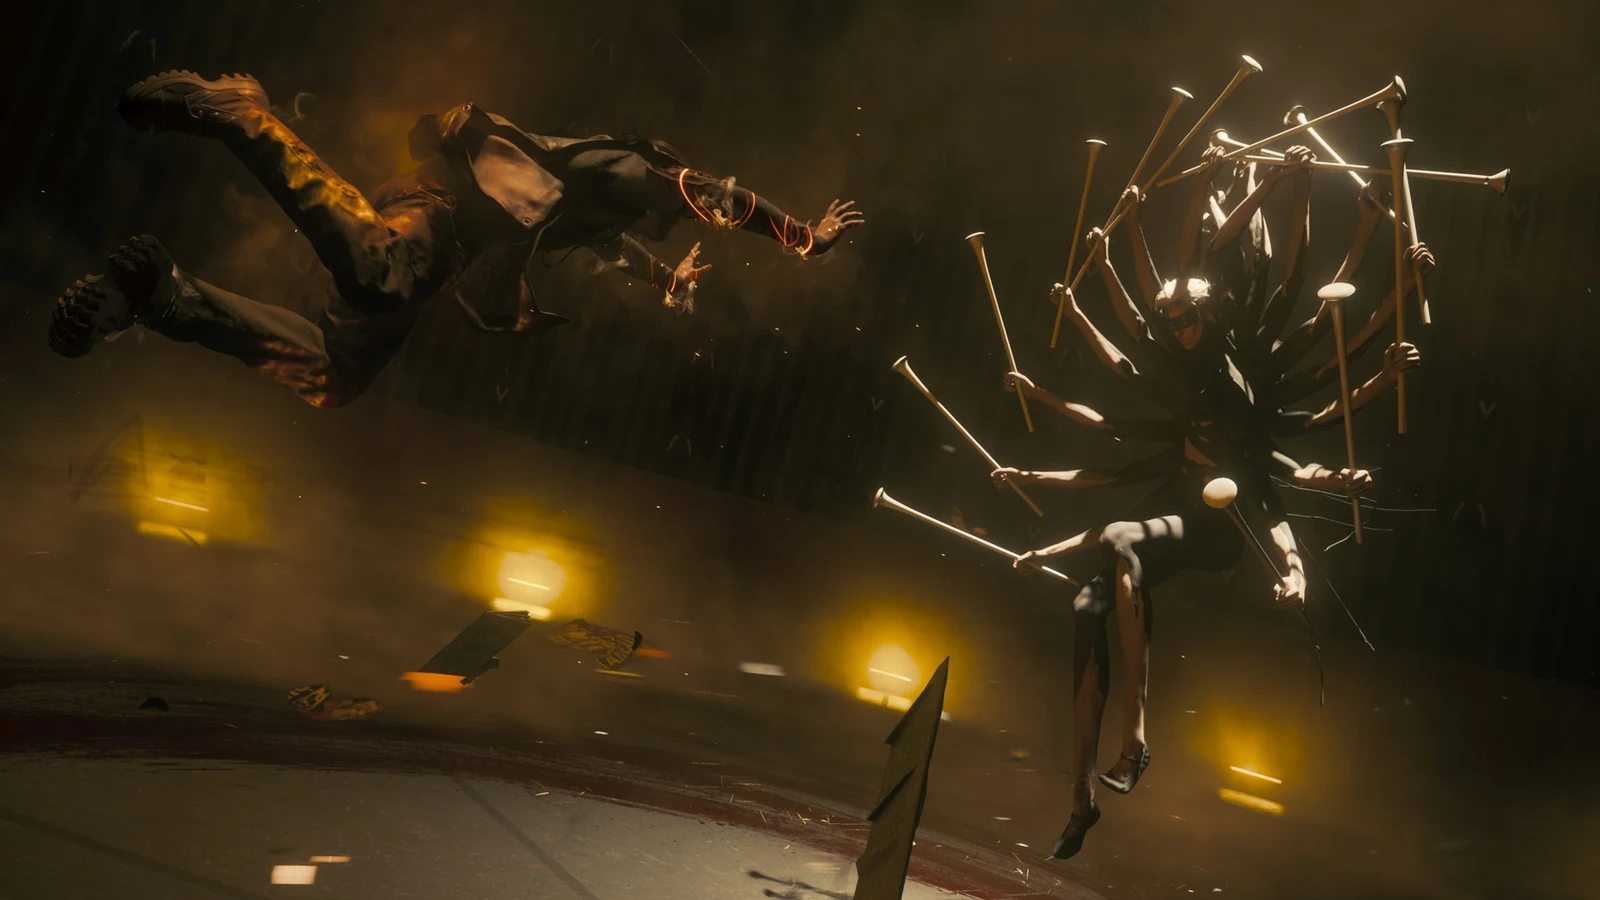
Halo: Campaign Evolved can look sharp on PC, but the Early Access build also exposes the usual launch-window problems: inconsistent FPS, uneven frame pacing, cinematic stutter, VRAM pressure, and hardware-specific crashes. The safest way to tune it is not to chase Ultra immediately. Start with a stable Low preset baseline, lock in your upscaler, test one setting at a time, then earn back visual quality only after combat feels smooth.
Halo: Campaign Evolved Best PC Settings Baseline
The best starting point for Halo: Campaign Evolved on PC is a launch-build baseline built around the Low preset, native display resolution, and the correct vendor-specific upscaler for your GPU. This gives you a clean performance foundation before you start raising individual settings.
The goal is simple: make combat responsive first. Once your heavy test route stays above your target FPS without repeatable hitches, you can raise visual settings one by one.
- Set Quality Preset to Low.
- Keep Display Resolution at your monitor native resolution.
- Enable the best upscaler for your GPU, such as DLSS, FSR, XeSS, or TSR.
- Disable Frame Generation during initial setup.
- Disable Motion Blur.
- Disable VSync if you are using VRR.
- Disable Minimum Frame Rate unless you are using TSR.
- Test a demanding outdoor combat route before increasing graphics quality.
Why You Should Start With the Low Preset
The Low preset is the fastest way to gain FPS in Halo: Campaign Evolved. Testing from the launch build shows that Ultra can run roughly 25% to 33% slower in average frame rate compared with Low, while the visual gap can be smaller than expected during active gameplay.
That makes Low the correct first step for most players, even on stronger systems. It removes the biggest GPU pressure points, reduces the chance of memory-related stutter, and gives you a stable base for tuning.
Think of this as a start low, earn high approach. Do not raise settings because your hardware should be able to handle them. Raise settings only after your repeatable test route proves that the game can stay above your target FPS.
Settings To Lower First For More FPS
If you are struggling to hit your FPS target, focus on the settings that affect lighting and scene-wide rendering cost before touching resolution. Halo: Campaign Evolved is more sensitive to expensive lighting options than to many smaller detail settings.
Global Illumination Quality
Global Illumination Quality is one of the heaviest settings in the game. Lower this first if your frame rate drops in open areas, large fights, explosion-heavy scenes, or locations with complex lighting.
For the best performance baseline, set Global Illumination Quality to Low. Raise it later only if your benchmark route remains stable.
Lighting Quality
Lighting Quality is another major performance lever. It can reduce FPS and worsen frame pacing when the game is already under heavy GPU load.
Set Lighting Quality to Low during baseline testing. This is especially important if your system dips below target FPS in outdoor encounters or cinematic transitions.
Texture Quality
Texture Quality should be handled based on VRAM capacity. If you have an 8 GB graphics card, keep Texture Quality on Low during the first pass. Higher texture settings may look better in still scenes, but they can trigger streaming hitches when the card runs out of usable memory.
Players with more VRAM can raise Texture Quality later, but only after confirming that the game does not hitch when moving quickly through large areas or loading new combat spaces.
Keep Native Resolution And Use Upscaling Instead
Do not lower Display Resolution as your first performance fix. Keep the game at your monitor native resolution for the clearest image, then use upscaling to reduce internal render cost.
Upscaling is the better compromise because it keeps the final output matched to your display while rendering internally at a lower resolution. That helps performance without making the entire image look soft in the same way a lower native resolution often can.
Upscaling Quality Levels In Halo: Campaign Evolved
Halo: Campaign Evolved uses different naming than many players expect. In this build, Ultra is the quality-style upscaling mode rather than the maximum native-quality option.
- Ultra renders at 67% internal resolution.
- High renders at 59% internal resolution.
- Medium renders at 50% internal resolution.
- Low renders at 33% internal resolution.
Start with Ultra or High if image clarity matters and your FPS is close to the target. Drop to Medium if you need a larger FPS boost. Use Low only when performance matters more than sharpness or when weaker hardware needs the extra headroom.
DLSS, FSR, XeSS, And TSR
Use the upscaler that best matches your hardware. DLSS is the preferred path on supported NVIDIA RTX cards. FSR is the natural choice for many AMD and mixed-hardware setups. XeSS can be useful on Intel Arc and some non-Intel GPUs. TSR is the universal fallback when the vendor-specific option looks wrong, is unsupported, or causes instability.
If you use TSR, the Upscaling Quality menu does not behave like the other upscalers. Use the Resolution Scale slider instead. This is important because changing the wrong control may make it look like your setting is not working.
Frame Generation, Latency, And Smoothness
Frame Generation can make motion look smoother, but it should not be part of your first baseline. It does not make the simulation respond faster, and it can add input latency. For a shooter, that matters.
Leave Frame Generation off while you tune the game. First, make sure the real rendered frame rate is stable and responsive. After that, you can experiment with Frame Generation for campaign visuals, screenshots, or casual play, but it should not be used to hide an unstable baseline.
Use Reflex, Anti-Lag, Or XeLL For Responsiveness
After the graphics baseline is stable, enable the latency feature that matches your GPU ecosystem. NVIDIA Reflex, AMD Anti-Lag, and Intel XeLL are designed to reduce system latency and can help the game feel more responsive.
These technologies are not a replacement for stable FPS, but they are useful finishing touches once your core performance is under control.
Async Compute: When To Enable It
Async Compute is situational. It can help GPU-bound systems by allowing graphics and compute tasks to overlap more efficiently. On CPU-limited systems, it may do little or even hurt consistency.
Treat Async Compute as a test variable, not a universal best setting. Change it only after your baseline is complete, then repeat the same route and compare responsiveness, average FPS, and repeatable hitches.
- Enable Async Compute if your GPU is the clear bottleneck and frame pacing improves.
- Disable Async Compute if your CPU is the bottleneck or if stutter becomes worse.
- Test it on the same route instead of judging by a random mission segment.
- Do not change Async Compute at the same time as upscaling, lighting, or texture settings.
Best Settings For 8 GB VRAM Graphics Cards
If your graphics card has 8 GB of VRAM, prioritize memory safety over texture quality. The biggest risk is not just lower FPS. It is streaming hitching when the game needs more memory than your GPU can comfortably provide.
- Keep Texture Quality on Low.
- Start with the Low preset.
- Use upscaling instead of lowering native display resolution.
- Avoid raising lighting-heavy settings too early.
- Watch for stutter when entering new areas, loading cinematics, or moving quickly through large outdoor spaces.
Once the game runs smoothly, you can try raising one visual setting at a time. If hitching returns, revert the last change.
The Three-Run Field Test
The best way to tune Halo: Campaign Evolved is to use the same demanding route every time. Pick an outdoor fight with explosions, enemy density, and camera movement. Do not judge settings in a quiet corridor if your real problem happens in large combat spaces.
- First run: use native output, no frame cap, and your Low preset baseline to establish raw performance.
- Second run: apply a specific profile, such as a Balanced upscaling setup, and judge responsiveness plus repeatable hitches.
- Third run: change only one variable, such as upscaling level or Async Compute, then repeat the exact same route.
This prevents false positives. If you change lighting, upscaling, textures, and Async Compute at the same time, you will not know which setting helped or which one caused new stutter.
How To Fix Cinematic Stutter
Cinematic stutter can behave differently from normal gameplay stutter. If gameplay is smooth but cutscenes feel uneven, the issue may be tied to refresh rate, VRR behavior, display processing, or cinematic frame pacing.
- Set your monitor refresh rate to a value divisible by 30, such as 60 Hz, 120 Hz, or 240 Hz.
- If you are using a TV, enable Game Mode.
- Temporarily disable VRR to diagnose cinematic-specific issues.
- Recheck the same cinematic after each change.
- Restore your preferred gameplay display settings after testing.
Do not assume every cinematic stutter issue is caused by GPU power. If the problem appears only in cutscenes, display timing may be the real cause.
Launch Through Steam, Not The Direct EXE
Always launch Halo: Campaign Evolved through the Steam Library instead of opening the direct .exe file. Launching outside Steam can cause missing connections and severe performance drops.
This is a simple fix, but it matters during Early Access. Use the normal Steam launch path before blaming drivers, graphics settings, or the game engine.
Early Access Crash And Driver Notes
Some launch-build issues are not solved by normal settings changes. Early Access reports mention high crash risk on RTX 5000 series cards using driver versions 610.47, 610.62, and 610.74, especially in missions such as Keyes or The Maw.
AMD users who crash during the Maw intro should try skipping the cinematic or changing the active upscaler. This is not a guaranteed fix, but it is a practical first troubleshooting step when the crash is tied to that specific intro sequence.
Avoid old community fixes, legacy FPS packs, or files designed for previous versions of Halo: Combat Evolved or Halo Custom Edition. Halo: Campaign Evolved is a modern release, and old fixes can cause instability instead of improving performance.
Official Hardware Targets
Use the official hardware targets as a rough expectation guide, not a guarantee. Real performance still depends on drivers, resolution, upscaler choice, mission, VRAM use, and whether the system is GPU-bound or CPU-bound.
- Low at 1080p and 60 FPS targets RTX 2060 Super, RX 6600, or Arc A580 class hardware.
- Medium at 1440p and 60 FPS targets RTX 3070 or RX 7600 XT class hardware.
- High at 4K and 60 FPS targets RTX 3080 Ti or RX 9070 class hardware.
- Ultra at 4K and 60 FPS targets RTX 4080 class hardware.
If your system is below the target for your resolution, use upscaling more aggressively and keep the Low preset longer. If your system is above the target, still start with the baseline so you can identify which visual upgrades are actually safe.
Handheld And Low-Power PC Tips
Handheld PCs and low-power systems should follow the same baseline logic, but with less visual ambition. Some handhelds, such as the ROG Ally, may expose a Very Low option. Use it only when Low is still not playable.
- Start with Low before trying Very Low.
- Use TSR if vendor-specific upscaling looks wrong or is unsupported.
- Lower internal resolution through the correct upscaler controls.
- Keep Frame Generation off until real responsiveness is acceptable.
- Favor stable frame pacing over higher visual settings.
On handhelds, consistency usually matters more than peak FPS. A lower but stable frame rate will feel better than a higher number that constantly spikes and dips.
Balanced Profile Recommendation
For most players, the best quick-start profile is a Balanced setup built from the Low preset. Keep native display resolution, use your best supported upscaler, disable Frame Generation, and leave the heavy lighting settings low.
- Quality Preset: Low.
- Display Resolution: Native.
- Upscaler: DLSS, FSR, XeSS, or TSR based on hardware.
- Upscaling Quality: Ultra or High for clarity, Medium for more FPS.
- Frame Generation: Off.
- Motion Blur: Off.
- VSync: Off when using VRR.
- Minimum Frame Rate: Off unless using TSR.
- Global Illumination Quality: Low.
- Lighting Quality: Low.
- Texture Quality: Low on 8 GB VRAM cards.
- Async Compute: Test on and off after the baseline.
This profile is not about making the game look worse forever. It is about removing the most likely causes of FPS drops, input delay, and hitching before you fine-tune visuals.
How To Earn Back Visual Quality
After your baseline is stable, raise settings slowly. The safest order is to improve image clarity first, then textures if you have enough VRAM, then lighting only when you have confirmed headroom.
- Raise upscaling quality one level and retest.
- Increase Texture Quality only if you have enough VRAM and no streaming hitches.
- Test Lighting Quality after image clarity and textures are stable.
- Test Global Illumination Quality last because it is one of the most expensive settings.
- Keep Frame Generation off until the real rendered frame rate feels good.
- Repeat the same heavy route after every change.
This method keeps the game playable while still giving high-end systems a path back toward better visuals.
Final Recommended Tuning Order
The safest Halo: Campaign Evolved optimization path is to tune the game before touching broader system-level tweaks. Game-first tuning gives you clean results because you know exactly which in-game setting changed performance.
- Build the Low preset baseline.
- Keep native display resolution.
- Choose the correct upscaler.
- Disable Frame Generation, Motion Blur, and unnecessary sync options.
- Lower Global Illumination Quality and Lighting Quality first.
- Keep Texture Quality low on 8 GB VRAM cards.
- Run the same demanding route three times.
- Test Async Compute as a single variable.
- Fix cinematic stutter through refresh-rate and VRR diagnostics.
- Avoid old Halo FPS packs and legacy community fixes.
Once the game is smooth in combat, then you can move on to driver checks, system cleanup, overlays, background apps, and other PC-wide optimizations.
FAQ
Start with the Low preset, keep Display Resolution native, use DLSS, FSR, XeSS, or TSR, disable Frame Generation, turn off Motion Blur, keep Global Illumination Quality and Lighting Quality on Low, and keep Texture Quality on Low if your GPU has 8 GB of VRAM.
Not during baseline tuning. Frame Generation can make motion look smoother, but it does not improve simulation responsiveness and may add input latency. Build a stable real FPS baseline first.
If you are using TSR, the normal Upscaling Quality menu may not control scaling in the same way as DLSS, FSR, or XeSS. Use the Resolution Scale slider instead.
Set your monitor refresh rate to a value divisible by 30, such as 60 Hz, 120 Hz, or 240 Hz. If you are using a TV, enable Game Mode. Temporarily disable VRR to check whether the issue is specific to cinematic playback.
Yes. The Low preset is the best starting point for FPS because Ultra can be around 25% to 33% slower in average frame rate. Start Low, confirm stable combat performance, then raise visual settings one at a time.
Use the best option for your hardware. DLSS is ideal for supported NVIDIA RTX cards, FSR is useful for AMD and broad GPU support, XeSS can work well on Intel Arc, and TSR is the universal fallback if the other options look wrong or are unsupported.
- Ace Combat 85 min read
Ace Combat 8 Best PC Settings: Reduce Stutter and Investigate High RAM Usage
- Witcher 3 Remastered8 min read
The Witcher 3 Remastered Best PC Settings: FPS Boost & Optimization Guide
- CONTROL Resonant7 min read
CONTROL Resonant Intel Arc Performance: Driver 32.0.101.9033 Benchmark & Best Settings