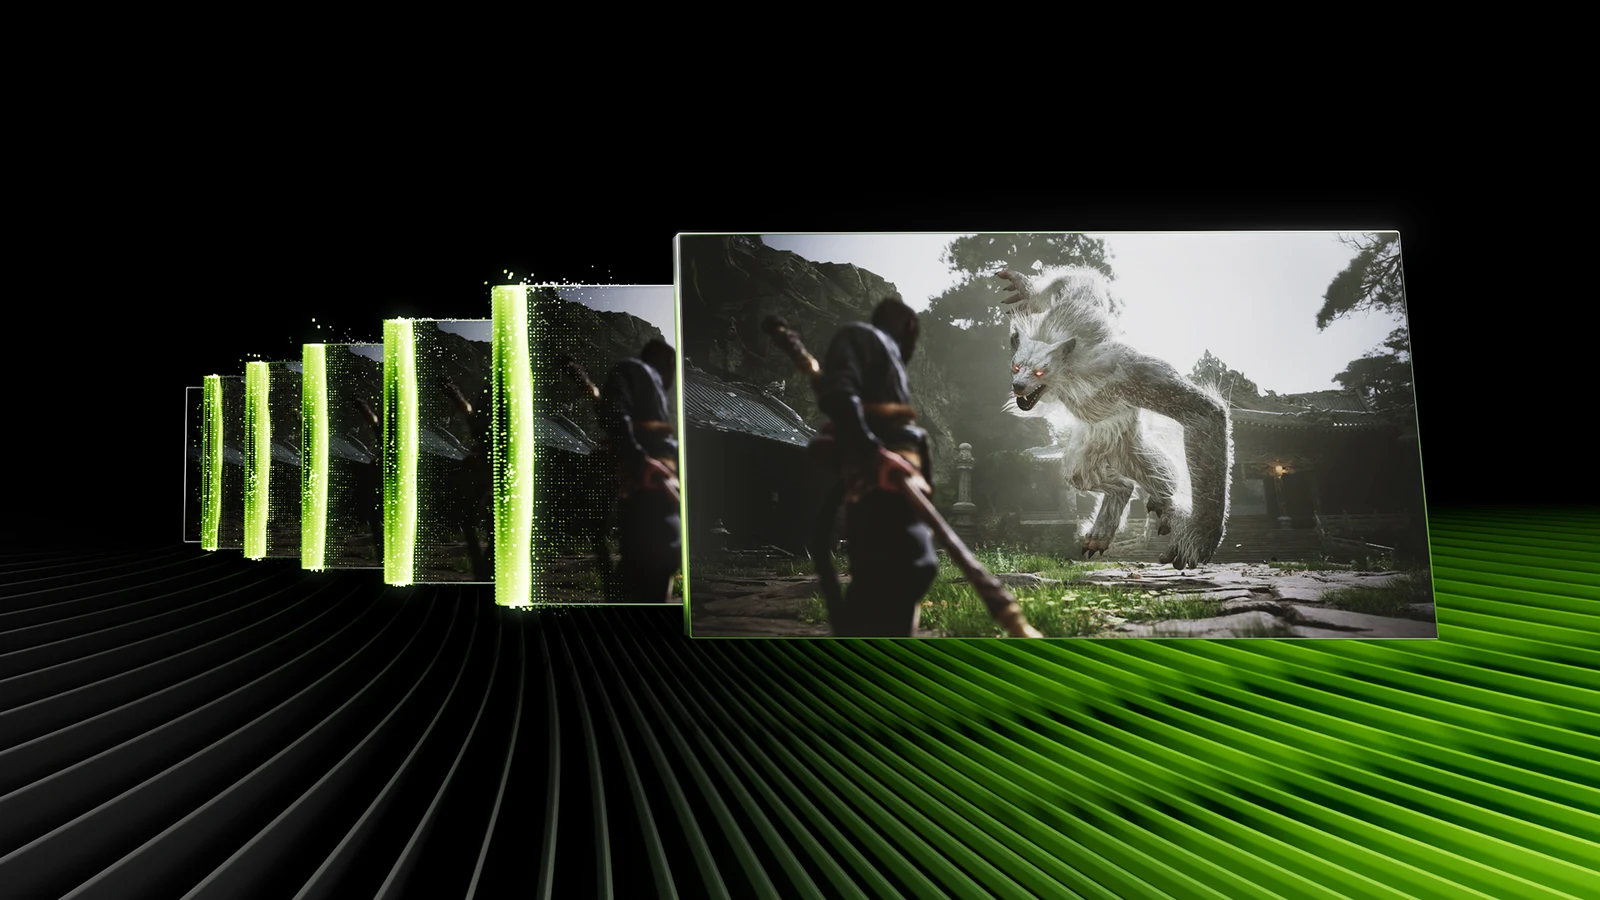
A slow pan across a doorway and a quick tap to aim ask different things of an RX 9070 XT. AMDLSS5 2.5 can insert intermediate pictures during the pan. The time from the tap to the first visible reaction still needs its own measurement. Here’s how to compare the mod’s 2×, 4× and 6× settings in Resident Evil Requiem. HD OPTI has yet to run this hardware benchmark.
Give each rendering mode the same scene
Pick a save with a recognisable doorway, a bright edge against a dark wall and room to turn. Use the same route and camera speed for every pass. Record the game build, driver, output resolution, refresh rate, frame cap, V-Sync and VRR settings. Keep the graphics preset fixed.
Start with the unmodified game at native resolution and frame generation off. For the second pass, enable the mod’s neural rendering with Neural Apex off and record the upscaler and its input resolution. If this changes the rendering resolution, add a pass with stock FSR at the same input resolution to isolate the neural effect.
AMDLSS5 on RX 9070 XT: How to Test Its Performance Cost
Repeat the neural-only pass at 2×, then 4× and 6×. Leave the game’s own frame generation off. In the mod menu (End), select Frame Generation and the multiplier. Wait for shader preparation and the mode switch to finish before capturing. Log the active multiplier on each pass. Version 2.5 can lower it when projected output would exceed its 1,000 FPS limit.
Count the frames and time the response
Capture the same 60-second route three times per mode. In a capture tool such as PresentMon, check whether frame type identifies game-rendered and interpolated frames on this setup. Save average rendered FPS and average displayed FPS separately. If classification is unavailable, leave rendered FPS unknown. Dividing the displayed counter by the selected multiplier assumes every expected frame reached the screen.
From the rendered-frame intervals, take the slowest 1% and divide 1,000 by their mean duration in milliseconds to get a rendered 1% low in FPS. Trace displayed-frame intervals over time as well. Two runs can have similar average output while one has a long pause each time you turn through the doorway. Record peak dedicated VRAM use over the same route with the same monitoring tool.
FSR Frame Generation Stutter: Why High FPS Can Still Feel Choppy
For latency, film a click indicator wired to the input and the same patch of screen together with a high-speed camera. Choose a repeatable visible response, such as the onset of the aiming animation. Count camera-frame intervals between the indicator lighting and that first change, then multiply by 1,000 divided by the camera’s frame rate. Repeat across several clicks and report the median, range and camera frame rate. Keep the mod’s latency readout in a separate column because its measurement endpoints may differ.
Look at the doorway and the HUD in motion
Pan past the doorframe and reverse direction. Watch the newly revealed strip of wall for a doubled edge or a smear. Then repeat with a HUD element against that moving background. Check whether the text stays legible and whether an outline trails the reticle. Replay the same moment from the neural-only pass before attributing a defect to frame generation.
Choose the lowest multiplier that gives you the motion you want on your display. If 4× and 6× look equally smooth, use the click measurements and moving HUD to break the tie. If their latency ranges overlap within the camera’s timing resolution, record the difference as inconclusive.
FAQ
AMDLSS5 2.5 disables its generator when the game’s own frame generation is active. Switch the in-game setting off and check the reason shown in the mod menu.
Compare 6× with the neural-only pass at the same internal resolution. That pair isolates the generator. The native pass shows how the whole configuration compares with the original game.
Displayed FPS counts changes in the output, including intermediate pictures. Time the same input and visible response in both modes to establish whether the delay changed.